Learn how to make curtains from a non-sewer for a non-sewer. Check out the easy tutorials!
Sometimes your mom gives you her old sewing machine and you have awesome intentions to teach yourself to sew. Then life takes over and you forget that dream and instead buy a five bedroom home to keep you busy. Well, what do you know, now you are forced to learn to sew if you are going to get the curtains you imagine in your home.
Not that that has happened to any of us or anything….Today, I am excited to share with you how to make curtains. A full tutorial coming from a non-sewer (me) for a non-sewer (you) to learn how to make two-panel curtains that go from the top of your window to the floor. Let me preface this tutorial with if you are a sewer, I apologize in advance for my dummy terms and non-professional equipment. You have been warned.
MATERIALS
Home Decor Fabric (amount depends on size of windows to cover)
TOOLS
Sewing Machine (or the patience to hand sew a lot)
Measuring tape
Iron
Grommets
Straight pins
Scissors
Pen
Hair straightener
INSTRUCTIONS
1. Start by measuring how wide your window is and the height from the top of the window to the floor. My window measures 63″ wide and height of 82″.
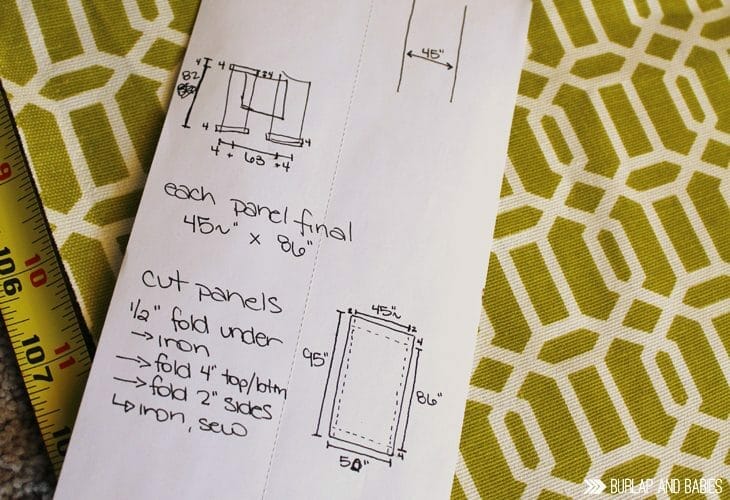
To figure out the minimum size of your curtain panel you need to add additional fabric for your hems. Here’s a formula to make sure you have enough fabric for each panel. I promise it’s not as complicated as it seems but should make it easier for you to figure out your dimensions.
Fabric Panel Width = (Width of window/2) x 1.5 + 8″
Fabric Panel Height = Height from top of the window to the floor + 12″
Don’t forget you’ll need two of these panels measured at the same size. Here’s my super rough measurements. If you bought extra fabric, leave your length longer than you need and that will make the last measuring step much easier!
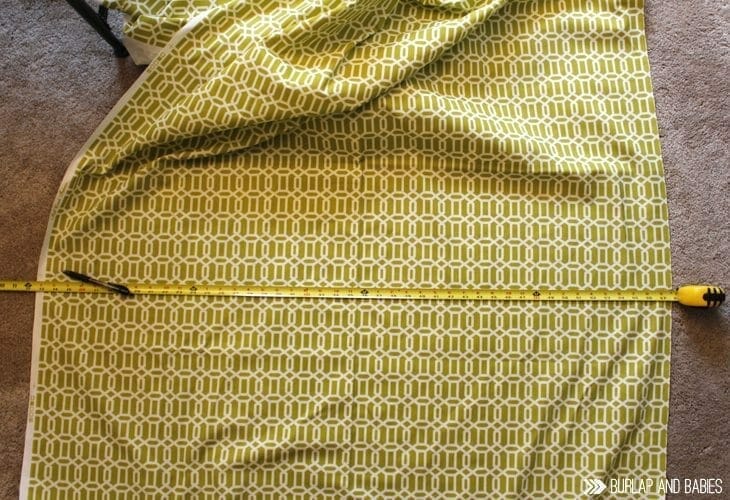
2. Once you have your measurements, cut your fabric. Make note of your pattern on the fabric to know which direction you want it going. For my window, I bought 7 yards of fabric and cut it in half. From there I just trimmed the edges and used the two pieces as my two panels. Like I mentioned before, this doesn’t need to be exact. These curtains are very forgiving and if you have more fabric it will just not be as straight when pulled closed.
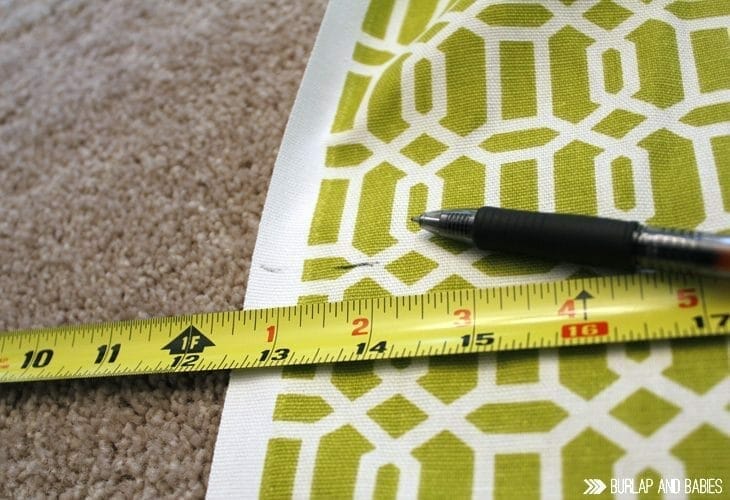
3. Now I got too excited with this next part and forgot to take pictures but let me know if you have any questions. Start by getting your iron warmed up. Depending on your material, the highest setting is probably good. Fold over the sides and top piece all about half an inch and iron them down.
4. On the sides of your panels, fold over another two inches and sew a straight line about a quarter inch in from the edge to make the edges nice.
This is what your edges will end up looking like to give you an idea.
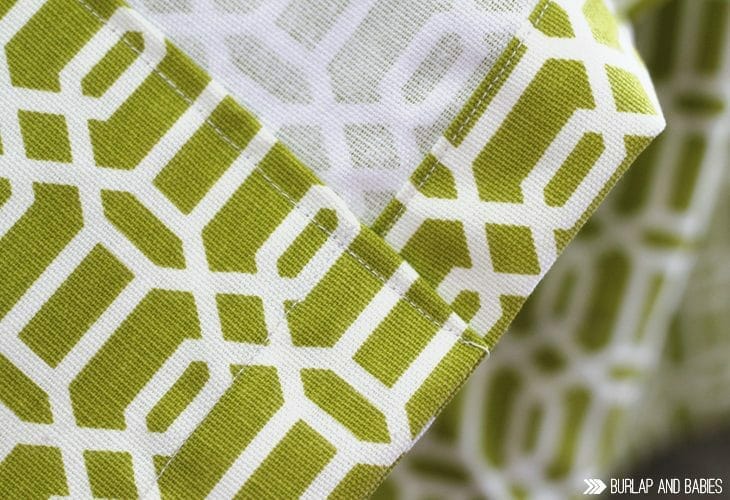
5. Find the top part of your panel and measure four inches, fold, and iron. This is making your header piece that the grommets will go into. Now sew a straight line just like you did for the edges. Be sure to do a backstitch at the beginning and end to make sure the stitch holds.
6. And just like that it’s time for your grommets. Lay your panels out and eye ball where your grommets should be. Be sure to use an even number per panel or else your curtain will fold funny when pulled back and will show the backside of your curtain.
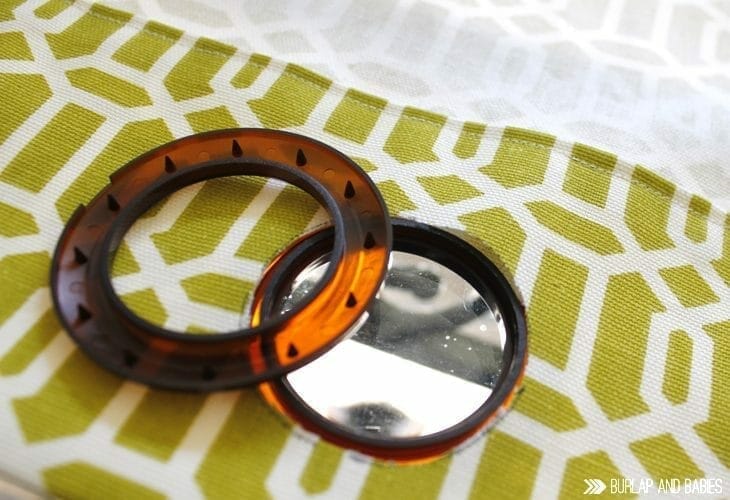
Now, take your grommets and separate them into the two types: back and front. Depending on how long your window is you might need more then what comes in one package. For my window I used 6 grommets per panel. Start with your first and last grommet about two inches from the edges and one inch from the top. Then evenly distribute the other grommets. Pull out your measuring tape and get them all aligned evenly if you’re concerned. This doesn’t have to be exact science though.
You can follow the directions the package of grommets comes with but pretty much just trace the circle using the template they provide, cut it out, and put the grommet with the spikes on the back, the flat one on the front, and push them together. They will snap into place and voila! Continue until all your grommets are in.
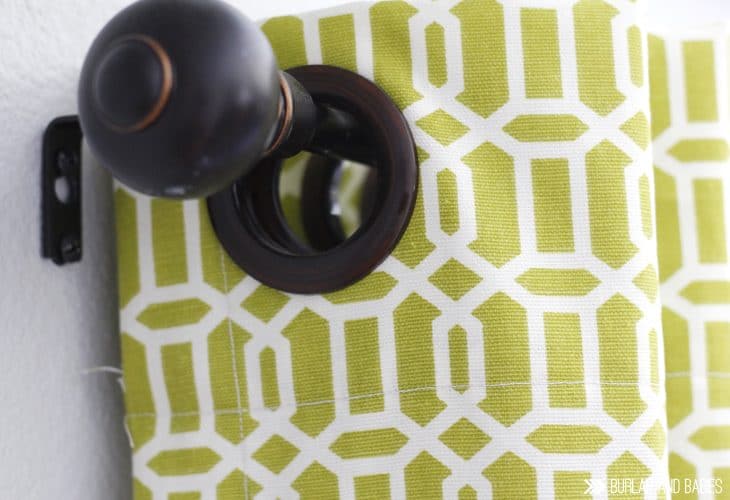
7. Now comes the fun part! Hang your curtains up on the rod and decide what length you want your curtains. I personally love them about half an inch from the ground. Some people like to puddle them in which case you might want to keep them long with a hem. This length can also vary depending on what type of furniture is in front of the window. If you choose to do it like mine, pull your curtains closed and using your straight pins, pin up what length the curtains need to be to be half an inch above the ground.
Tip: Use a hair straightener to crease where the curtains should be ironed to make it easier to tell once you pull the curtains down off the rod.
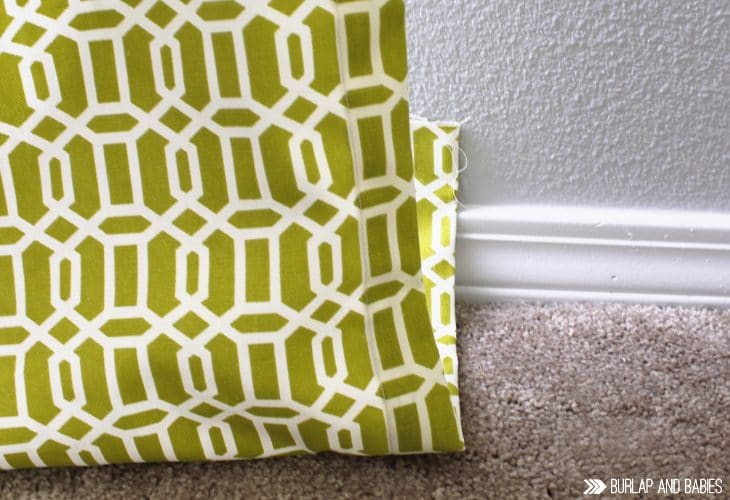
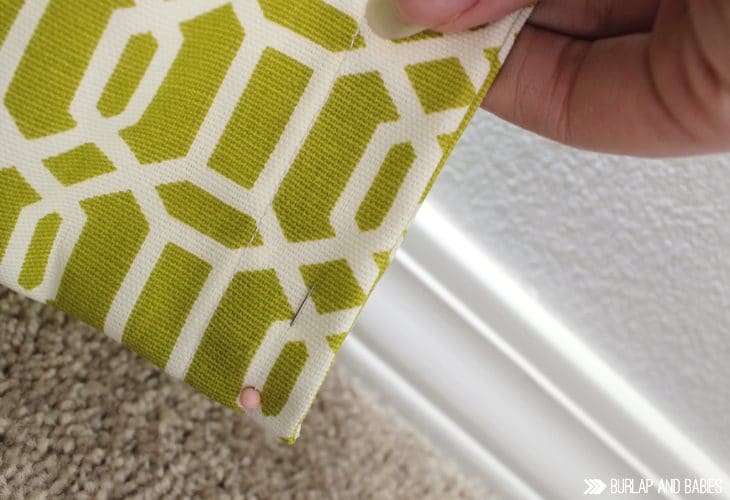
8. Once you have it all pinned, take the curtains down and iron where the curtains need to end. Now cut off any excess fabric, leaving about five inches to sew a hem. Take your raw edge and iron about half an inch in to make your line clean on the back and sew a straight line making your hem line about 4 inches up from the floor. This will leave enough weight in your curtain so that it doesn’t just fly around when people walk past.
9. Now hang your curtains back up and you’re done!
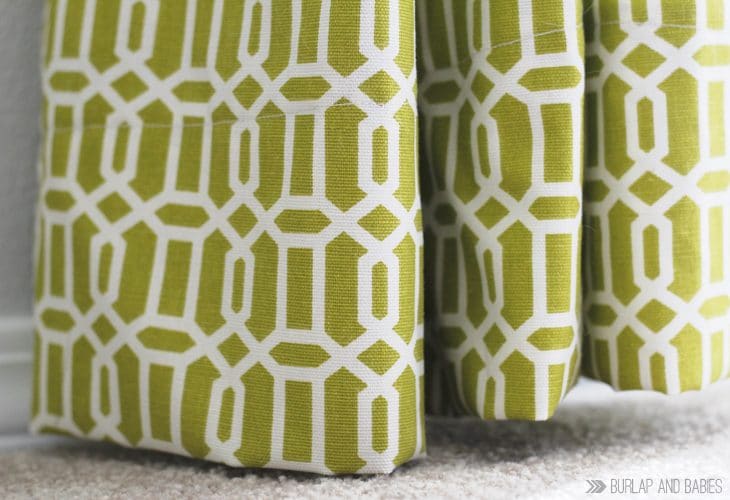
These curtains were the first real sewing project I’ve ever done and once I started I didn’t want to stop. I ended up sewing curtains for 6 windows in our home so far with 2 more windows to go. You can see our kitchen window curtains in the mason jar tutorial.
Did you make your own curtains for your home or did you buy them?


You are so, so good at these sorts of things! Tucking this away for when I want curtains but can’t find any I like!
Please do one on how to reinvent old throw pillows! I want to recover some of mine and would love a tutorial like this!