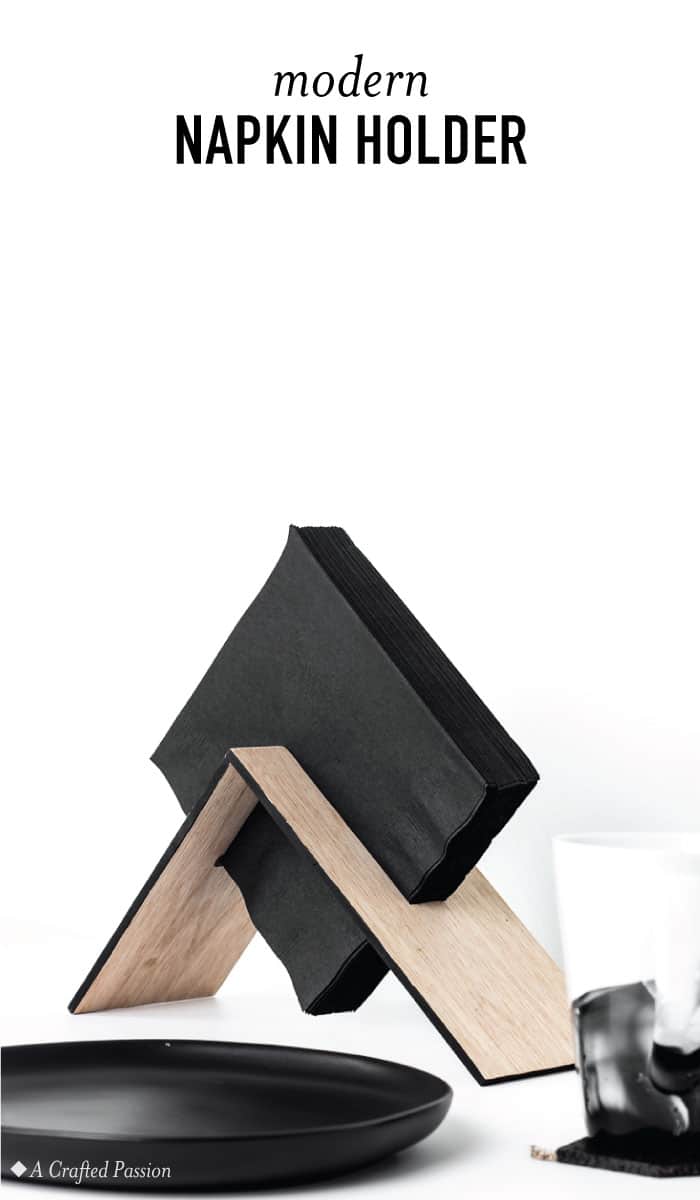
Make a modern wooden napkin holder with this simple DIY tutorial. This asymmetrical design is easy to make and looks great!
I don’t know how it works in your home, but we go through at least 10 napkins a day during meal time. Between the yogurt spills at breakfast, orange juice being spilled at lunch, and everything being spilled during the witching hour at dinner time, napkins are a necessity. However, I have not been able to find a modern napkin holder that I love to display on our table all the time.
So, I figured let’s just DIY our own.
I was going for a simple, modern, clean look, and I love how this turned out! This holder fits the large dinner napkins perfectly.
*This post contains some affiliate links for your convenience (which means if you make a purchase after clicking a link I may earn a small commission, but it won’t cost you a penny more)! Click here to read my full disclosure policy.
Craft Time: 20 minutes
Waiting Time: 2 hours
Skill Level: Easy
Cost: $10
Materials to make your napkin holder:
- 4″x15″ 1/4″ Birch Plywood rectangle
- Paint
- Scrap board
Tools:
- Ruler
- Scroll saw
- Drill
- Miter box or saw
- Wood glue
- Sandpaper
1. Draw Hole
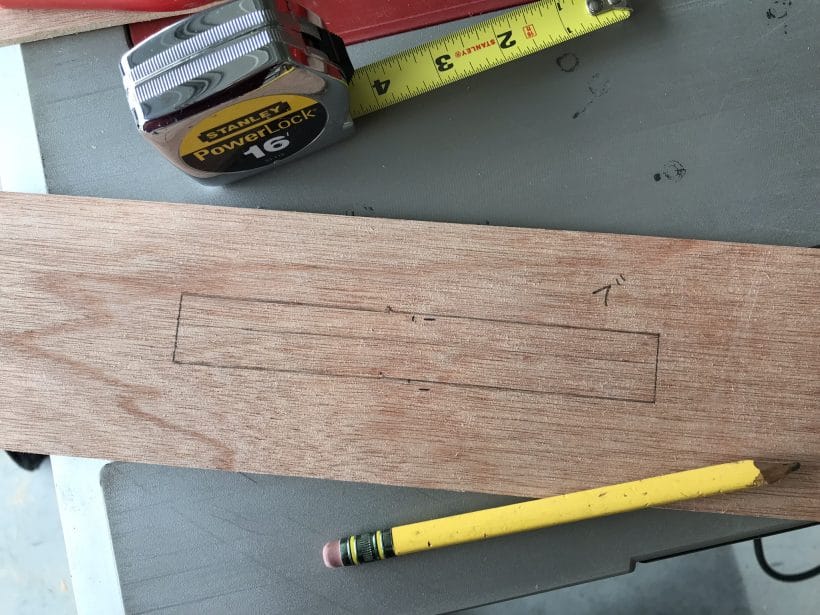
First, you need to take your 4″x15″ rectangle and draw out a rectangle in the middle that’s 1 inch by 7 inches.
2. Cut Center
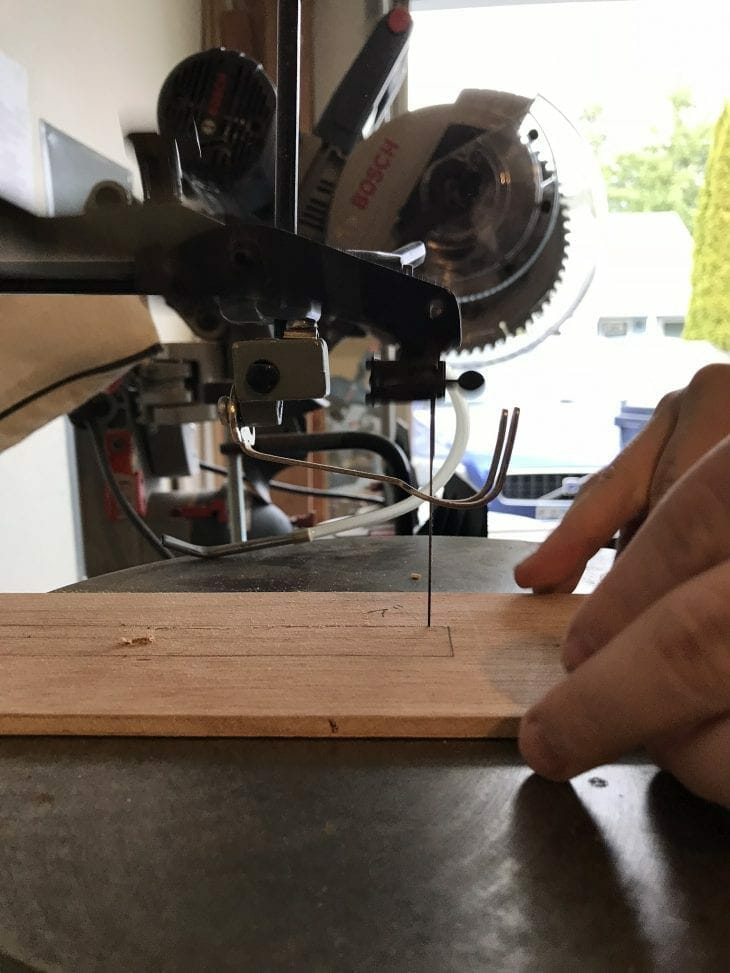
Drill a hole in the center of the rectangle you just drew that is large enough to fit your scroll saw blade through.
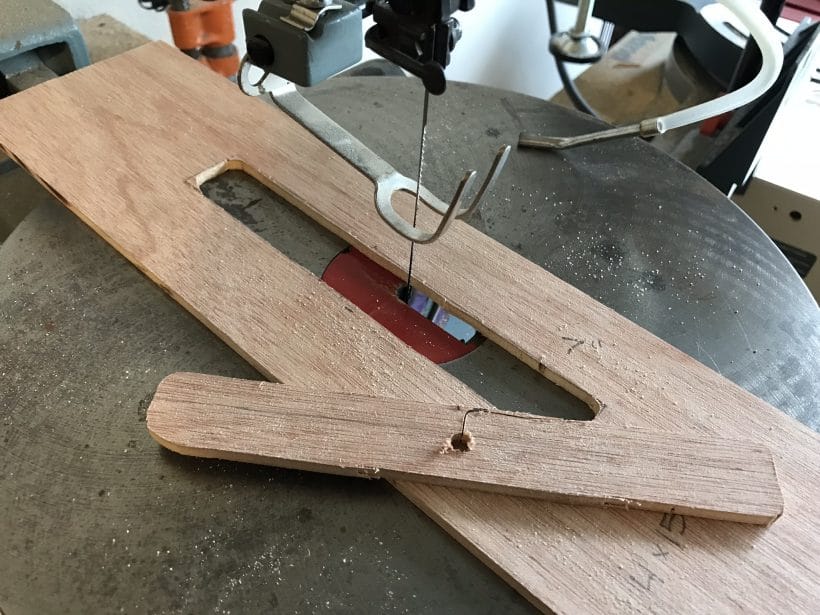
Now, cut out the center rectangle so you’re just left with the outside piece. You can go back and forth hitting the corners from multiple both sides to get it as close to 90 degrees as you can.
3. Sand
Take your sandpaper or sanding sponge and clean up all your cuts and edges. If you wrote on your board, I’d also suggest sanding that off now.
4. Cut .5″ from Center
Now, cut your rectangle into two parts about 1/2″ from center. You could also use a miter box or scroll saw depending on what tools you have available. This leaves you with two pieces where the center rectangle will align perfectly.
You could cut it in half if you want it to be symmetrical, however, I like the asymmetry of having the two pieces being different lengths.
5. Glue
Set your longer board on a flat surface up against a vertical piece of scrap wood.
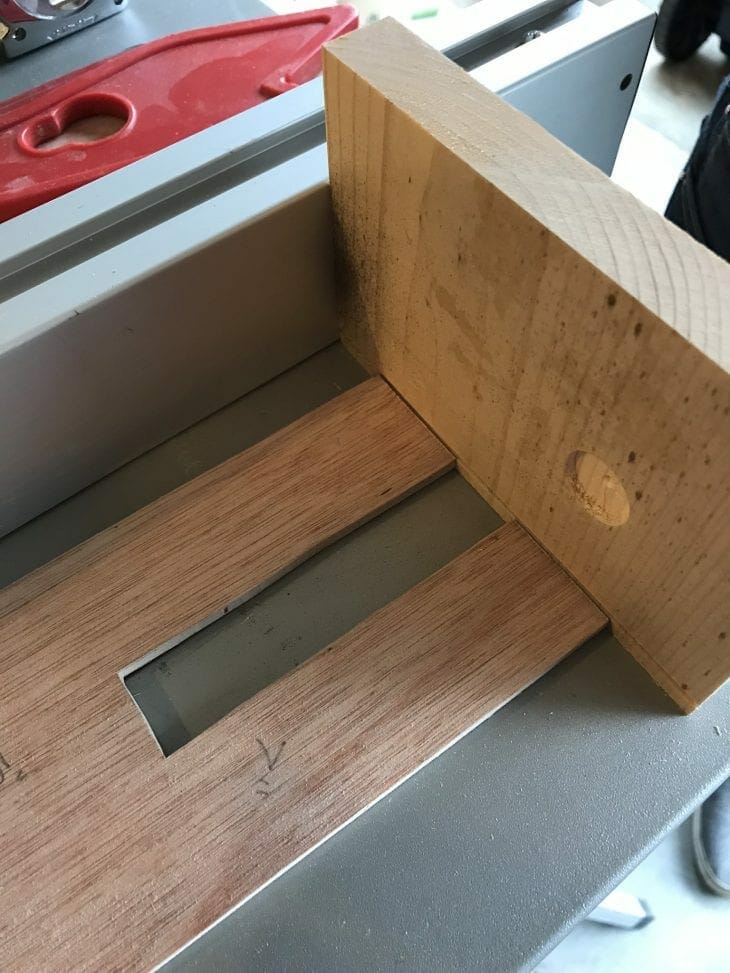
Add wood glue to the end of the shorter board, spread the glue out to cover the whole edge, and set on the edge of the longer board pushed against the scrap board. The scrap board helps to keep both boards as flush as possible and make sure you have that 90 degree angle.
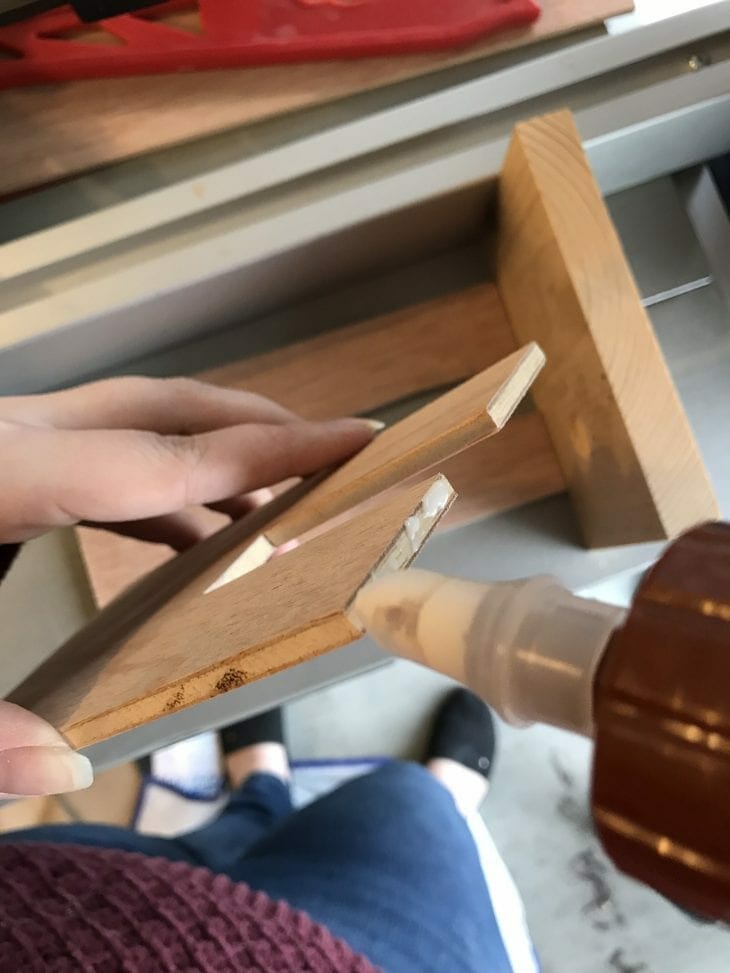
If you have two scrap boards and want to make sure it’s perfectly square, pin those two scrap boards together and then use clamps to hold your napkin holder pieces in place while the glue sets.
Leave the boards a few hours to make sure the glue has dried completely.
6. Sand
Once the glue has dried, sand your napkin holder to make sure there are no rough edges and that the two pieces fit together seamlessly.
7. Paint Edges
Use some craft paint and a small foam brush to carefully paint the edges to make it pop a little bit.
Once that paint has dried, you’re done!
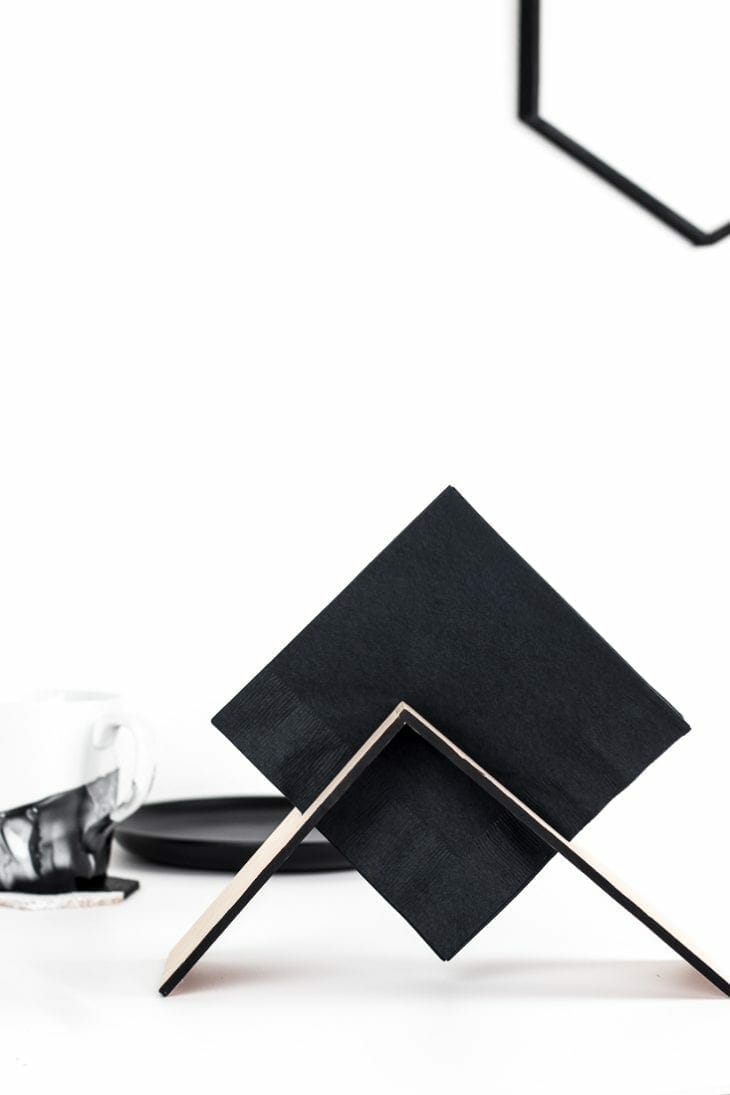
I love how this napkin holder turned out and this asymmetrical design adds a little flair to our table. Our old napkin holder has been tossed in the garbage and I couldn’t be happier.
Also, the napkin holder matches perfectly with our new Hearth and Hand plates and the marble mugs I shared earlier this week.


Would you have a napkin holder like this on your table?
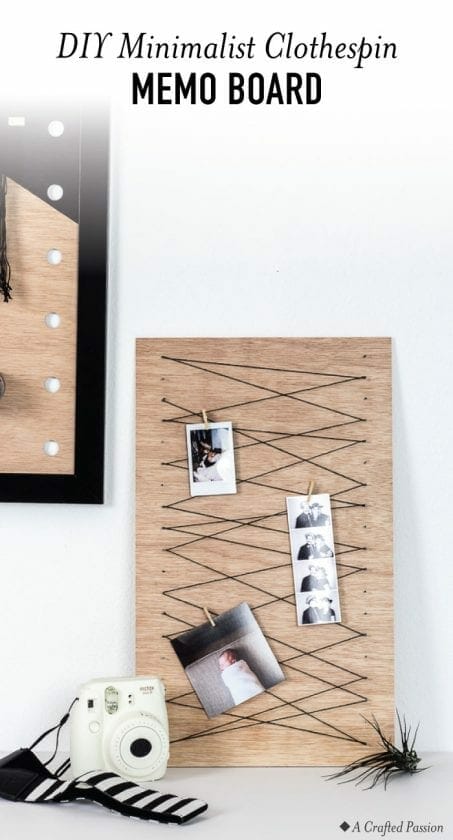
Create a simple clothespin memo board to keep important notes or display your favorite pictures with this easy DIY idea.
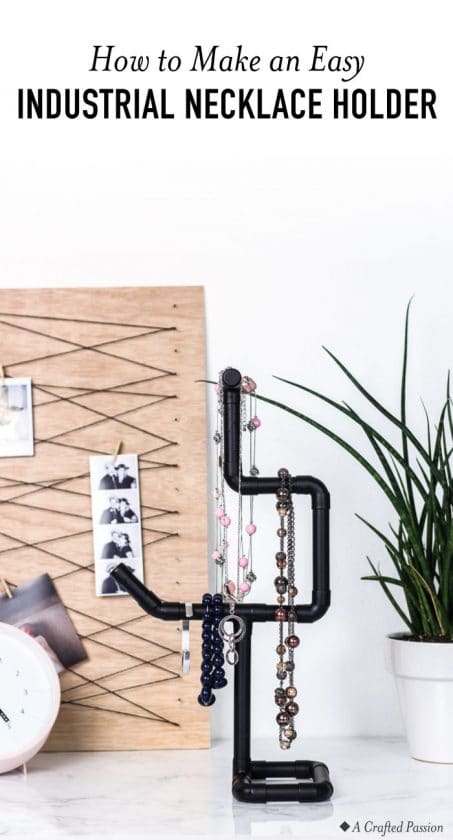
Make this DIY necklace holder to organize your jewelry. This modern industrial stand is the perfect display to have on your dresser.
Want a modern home on a budget?
Subscribe and get this FREE GUIDE to learn the tips, tricks, and my best resources to create a family-friendly modern home on a budget!


